Tile-on-tile is the renovation method that saves the most time and mess. It is also the one most often done badly, because the surface being tiled onto is glazed, non-absorbent and already carrying a history of its own.
First, decide whether it is safe
Tap the entire existing floor with a coin. If more than a small proportion sounds hollow, the old bed is already failing and anything laid on top inherits that failure. In that case, break it out.
Also check:
- Level build-up. New tile plus adhesive adds roughly 15–20 mm. Will doors still open? Will the threshold to the balcony become a trip hazard? Will the bathroom floor end up above the drain fall?
- Dead load. On an upper floor, two layers of tile is extra weight. On a large area, check with the structural engineer.
- Dampness. If the old floor has a damp problem, covering it does not solve it.
Surface preparation decides the outcome
- Clean thoroughly. Degrease the floor completely — kitchen floors especially. Any oil film is a bond breaker.
- Roughen the glaze. Mechanically abrade the surface so the adhesive has a key. A smooth glaze offers almost nothing to grip.
- Remove loose tiles and fill. Lift anything hollow or cracked and fill the gaps level with the surrounding floor.
- Rinse and dry. Remove all abrasion dust. Dust under adhesive is the second bond breaker.
Use the right grade
Tile-on-tile is a Type 2 job at minimum, and Type 3 in wet areas, exteriors and high-traffic floors. The adhesive has to bond to a non-absorbent glaze on both sides — old tile below, new tile above — so polymer content is doing all the work. For light-coloured or translucent new tiles, use the matching white grade.
Laying
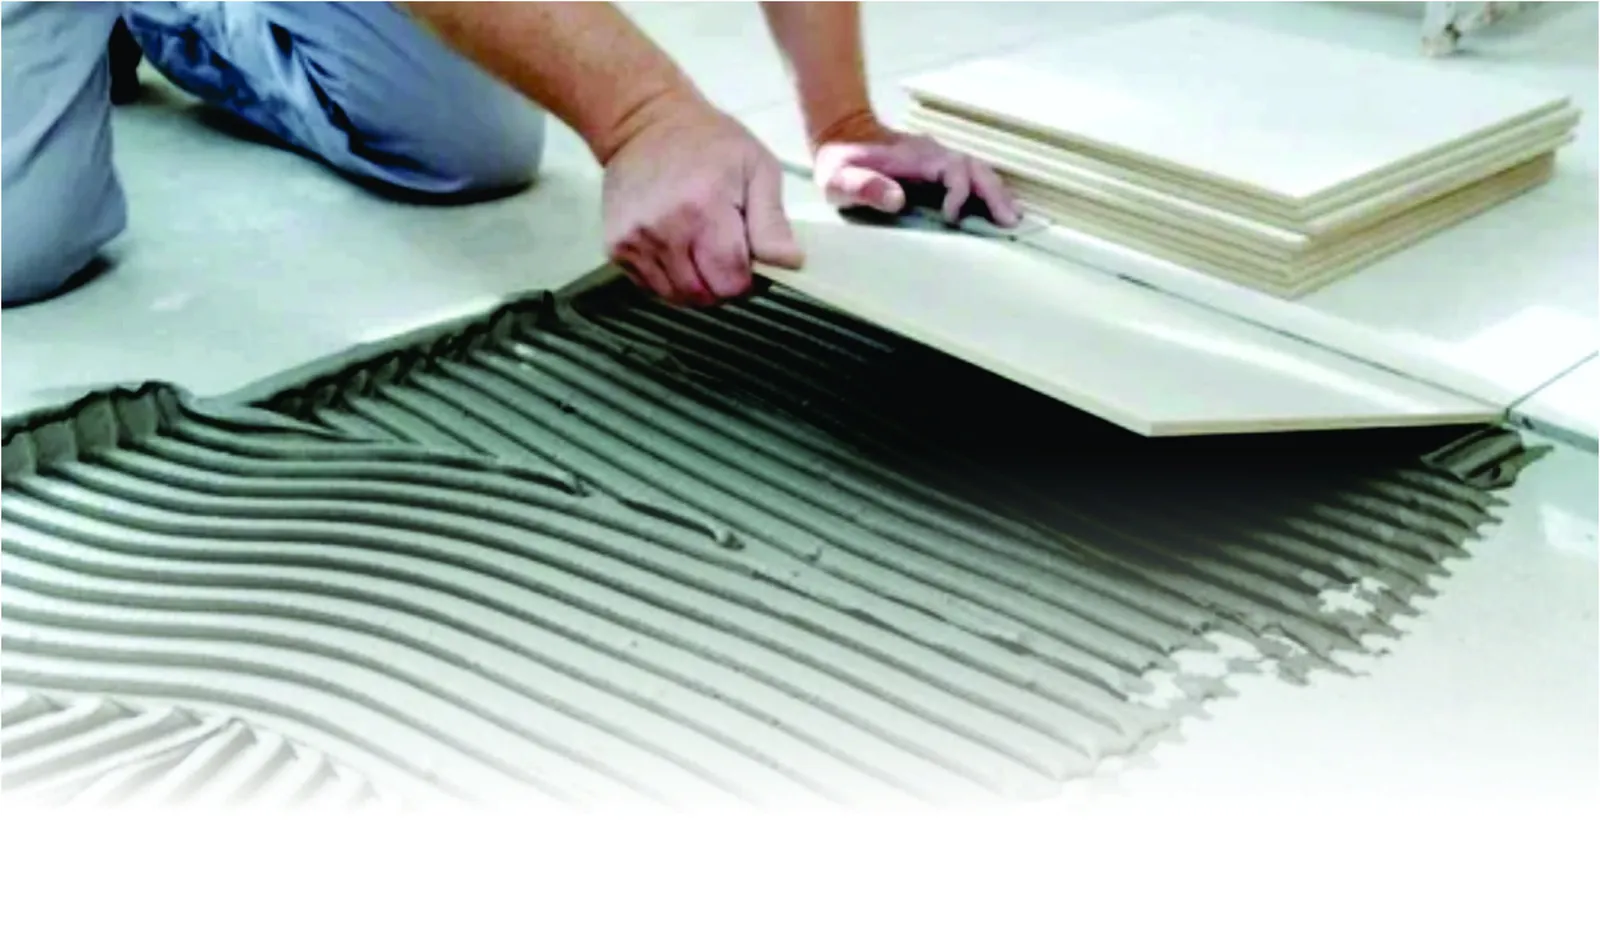
- Full combed bed, no spot fixing. Back-butter anything above 600×600 mm.
- Offset the new joints from the old joints where possible, so new joints do not sit directly over old movement lines.
- Keep the perimeter gap and carry movement joints through from the old floor to the new.
- Grout after 24 hours, and keep traffic off for 24–72 hours depending on the area.
Walls as well as floors
The same method works on walls, and the height build-up matters less. What matters more is weight: check that the existing wall tiles are firmly bonded before adding a second layer, because a failure on a wall drops tiles rather than cracking them.
When to say no
If the existing floor is widely hollow, cracked through, laid on a failing screed, or sitting on a slab with a damp problem, break it out. Tiling over a failing floor only hides the failure until it takes the new tiles with it.
Read next
- Tile Adhesive vs Cement Mortar: Which Is Better for Fixing Tiles?
- Tile Adhesive Type 1, Type 2 and Type 3: What the Difference Actually Means
- Tile Adhesive Coverage: How Many Bags per 100 sq ft?
Browse the full EMMA product range, check the application guide, or ask our technical team about your site.