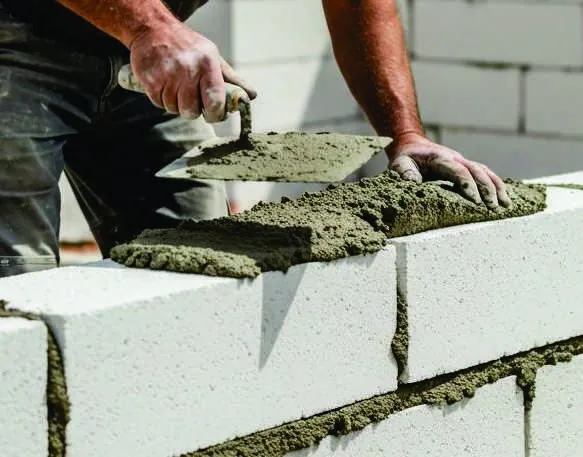
Walk into any site in Guwahati and you will still find a mason mixing cement and sand to fix vitrified tiles. It worked for decades on small, porous ceramic tiles. It does not work the same way on the materials being specified today — and the hollow-sounding floors showing up a year after handover are the proof.
Why the old method is failing on modern tiles
Cement-sand mortar bonds mechanically. It needs the tile to absorb water so cement crystals can grow into the tile's pores and lock in. That is exactly what a modern tile refuses to do. Vitrified and porcelain tiles have water absorption below 0.5%, so there are almost no pores for the mortar to grip. The mortar sets against a smooth, closed back and holds on by friction alone.
Add a thick 20–40 mm bed, and two more problems follow. The bed shrinks as it dries, pulling away from the tile, and it is almost impossible to lay evenly, so you get voids. Tap such a floor and it sounds hollow — that sound is an air pocket waiting to crack under a point load.
What a polymer-modified adhesive changes
Tile adhesive is cement, graded silica and polymers blended in a factory to a fixed ratio. The polymer is the part that matters: it bonds chemically to low-absorption surfaces instead of relying on water absorption, and it stays slightly flexible so the tile and the substrate can move at different rates without the bond letting go.
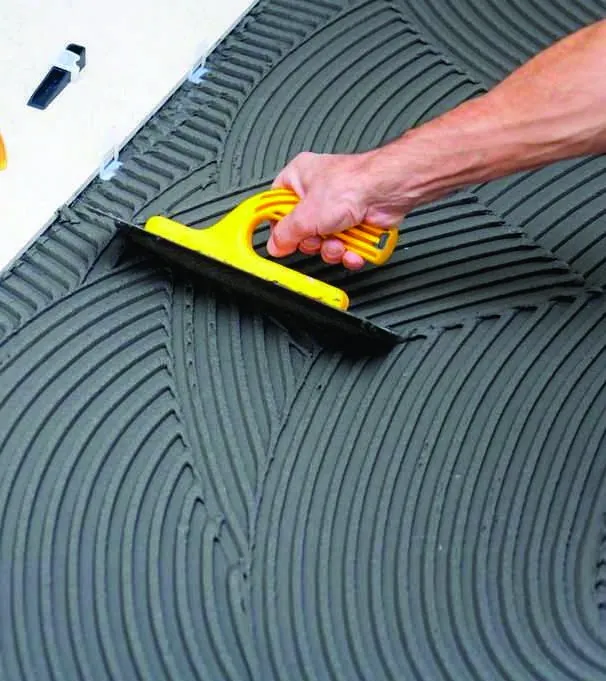
It is also applied as a thin bed — 3 to 12 mm, combed with a notched trowel — so there is far less material to shrink and far less room for voids.
Side by side
| Factor | Cement-sand mortar | Polymer tile adhesive |
|---|---|---|
| Bond type | Mechanical, needs absorption | Chemical + mechanical |
| Vitrified / porcelain | Unreliable | Designed for it |
| Bed thickness | 20–40 mm | 3–12 mm |
| Mix control | Varies mason to mason | Factory blended, same every bag |
| Curing | Water curing needed | No water curing |
| Tile soaking | Required | Not required |
| Dead load on structure | High | Low |
The cost argument, done properly
A bag of adhesive costs more than a bag of cement. That is where most comparisons stop, and it is the wrong comparison. Count what the thick bed actually consumes: cement, sand, screening, water, curing time, the labour to carry and mix it, and the floor level you lose to a 30 mm bed. Then count what a debonded floor costs — the tiles, the labour to break and relay, and the client's confidence.
On a 1,000 sq ft floor, the adhesive route typically lands within a few thousand rupees of the mortar route once material, labour and wastage are added, and it finishes days earlier.
When mortar still has a place
For thick bedding over a rough, badly out-of-level base, a screed or levelling layer is still the right call — but it is a levelling layer, not the bonding layer. Level first, let it cure, then fix the tile with adhesive on top. Using mortar to do both jobs at once is what causes the trouble.
Choosing the grade
Match the grade to the tile and the location rather than to the price list. Small ceramic tiles indoors are covered by a basic Type 1 adhesive. Vitrified tiles up to 600×600 mm and tile-on-tile work need Type 2. Large format, granite, marble, façades and high-traffic areas need Type 3. Light-coloured and translucent stone needs a white adhesive so grey cement does not shadow through.
Read next
- Tile Adhesive Type 1, Type 2 and Type 3: What the Difference Actually Means
- White vs Grey Tile Adhesive: What to Use for Marble and Light Stone
- Tile Adhesive Coverage: How Many Bags per 100 sq ft?
Browse the full EMMA product range, check the application guide, or ask our technical team about your site.